
A Practical Guide: Add Header And Footer In Excel
Apr 19, 2023
Are you looking for a simple, quick way to add a header and footer in Excel?
Whether you're a beginner or an expert, this guide is all you need to learn how to customize headers and footers. Our simple instructions will help you complete the process within a few clicks.
Read on as we cover the following:
-
Insert an Excel Header
-
Insert an Excel Footer
-
Remove Headers and Footers in Excel
-
Final Thoughts on How to Add a Header and Footer in Excel
-
Frequently Asked Questions on Adding a Header and Footer in Excel
Insert an Excel Header
You can see a header at the top of a document. Typically, the header is an area where you can add information.
Follow these steps to learn how to insert headers in Excel:
-
Navigate to the Insert tab from the Excel ribbon and select the Text box.

-
In the Text box, click the "Header and Footer" button.
After clicking the "Header and Footer" button, the Excel worksheet view changes into the Page Layout tab view.
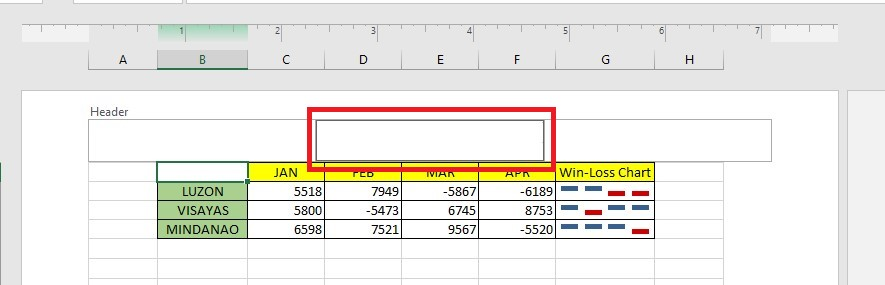
The header box has three parts. The cursor will be in the middle part by default. However, selecting the left or right section for the header is also possible.
-
Let's type "simple sheets. co" in the center part of the header.
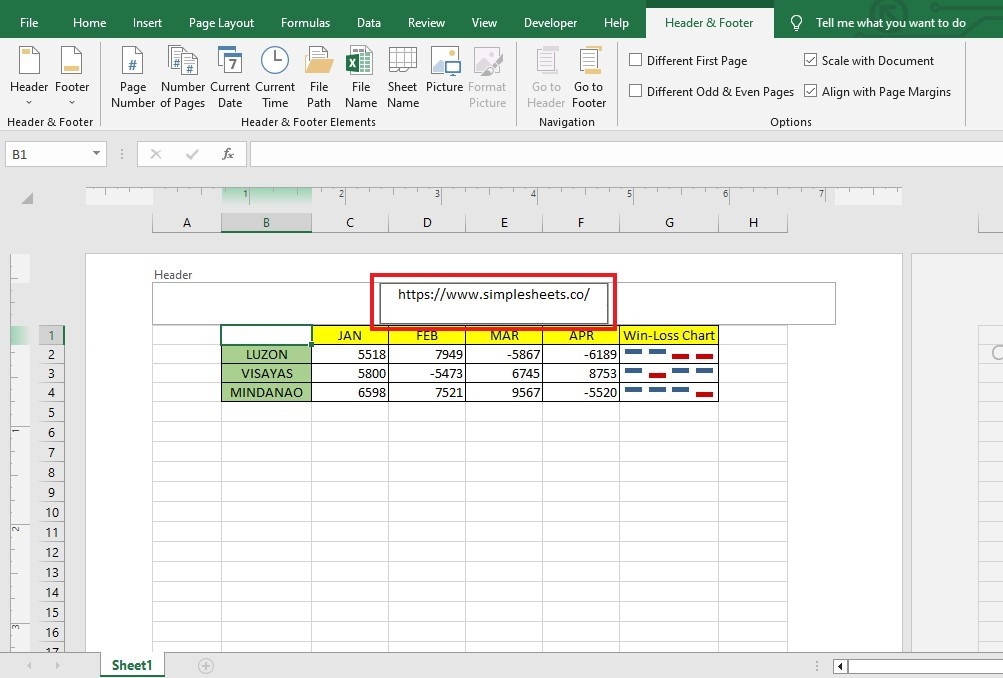
You can now add headers with ease.
Read more: How to Master Excel: A Comprehensive Tutorial for Beginners and Advanced Users
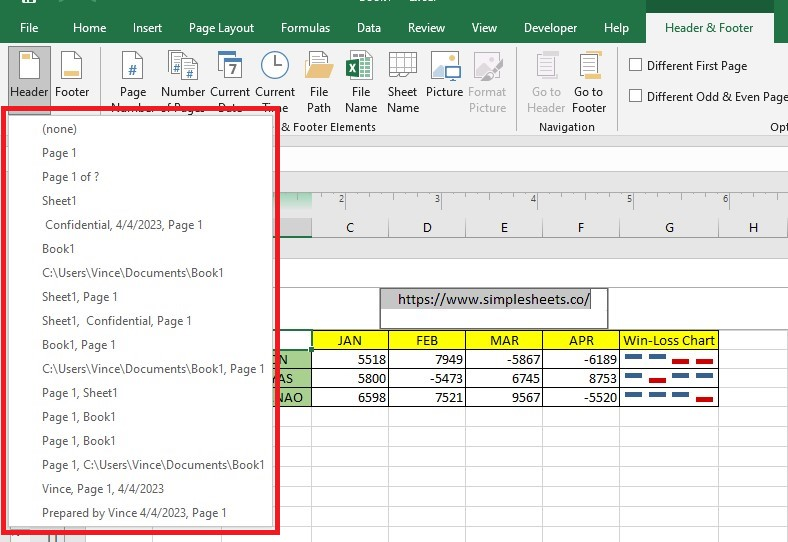
Insert Headers with Preset Header
Microsoft Excel has preset headers that you can use. The preset headers have the most commonly used header elements, including Page Number, Name or File Path, and many more.
To add Preset Headers, follow the steps below:
-
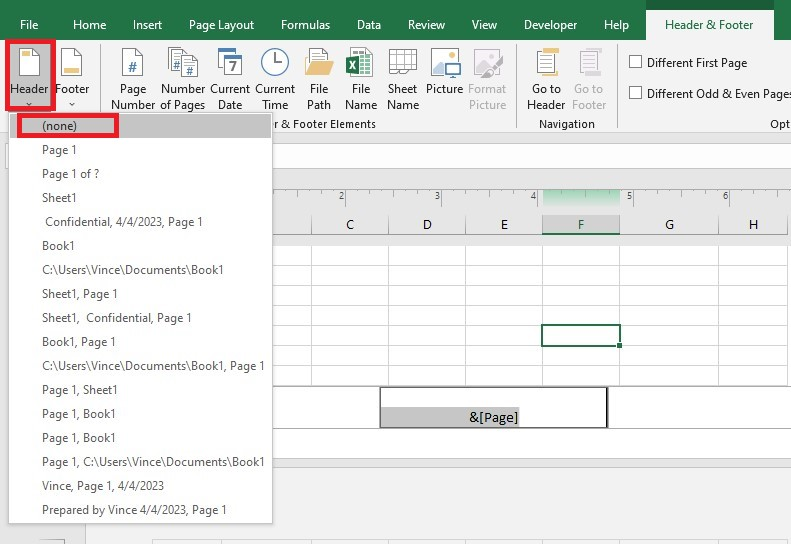
On the left part of the Header and Footer tab, click Header.

-
Choose a header text format. Since the Preset Header and Footer tools have already formatted text.
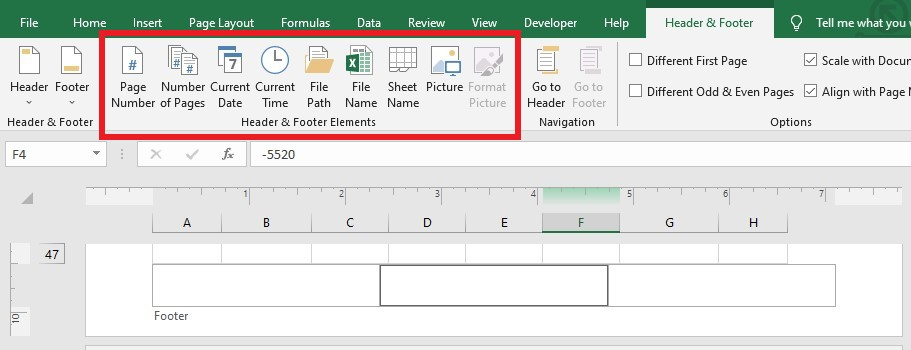
Header and Footer Elements Group
You can also use the preset elements for your header from the Header and Footer Elements group. Here are some items you can add:
-
Picture
-
Sheet Name
-
File Name
-
File Path
-
Current Time
-
Current Date
-
Number of Pages
-
Page Number
To insert a custom header element to your Excel sheet, do the following steps below:
-
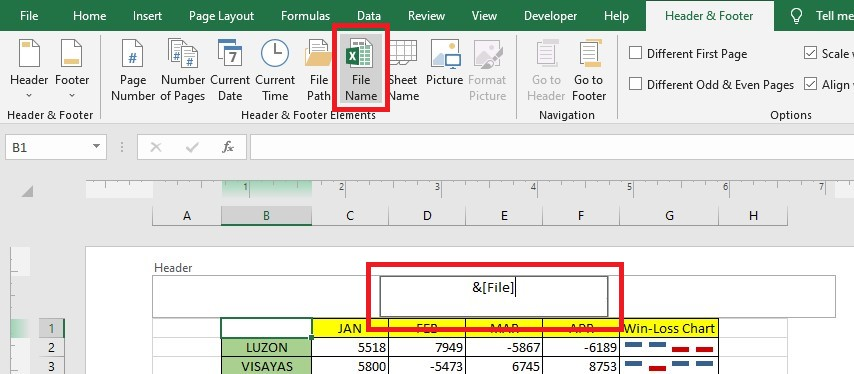
Click the center part of the header.
-
Let's insert the File Name from the Header and Footer Elements.
-
Click any cells in the worksheet. Excel will add the File name as your header.
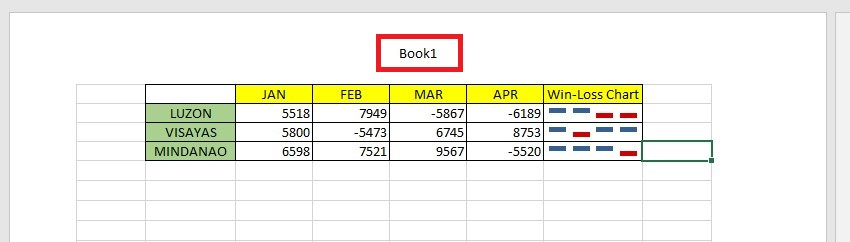
Using a preset header is easy! Moreover, you don't need to type the file name. Headers make your content look better and save time when creating documents because they appear on every page.
Insert an Excel Footer
A footer is like a header, but it's located at the bottom of each page. Footers help add your contact information, links to other websites or pages, and the numbers of the pages in a document.
Adding footers in Excel is as easy as adding headers.
-
Navigate to the Insert tab, click the Text Group, and choose Header and Footer.

-
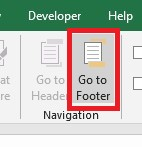
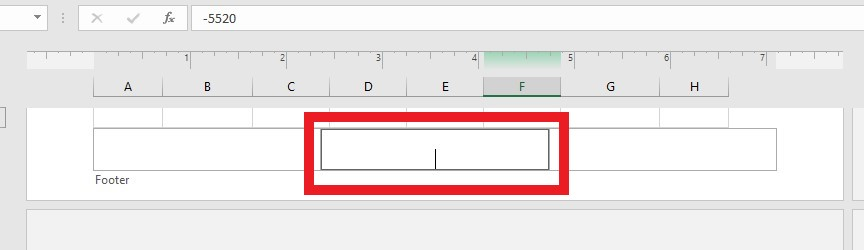
Click the Go to Footer from the Navigation group.
After clicking the Go to Footer, the cursor will automatically go directly to the center section of the bottom part of your worksheet. In the footer text box, you can add the footer information.
Read more: How to Find and Remove Circular References in Excel
Insert Footers with Preset Footer
You can use the same Preset settings for the Header or Footer of the worksheet. For example, you can put the page number or file name at the bottom.
To create a custom footer:
-
Go to Header & Footer Tab and look for Header & Footer Elements group.
-
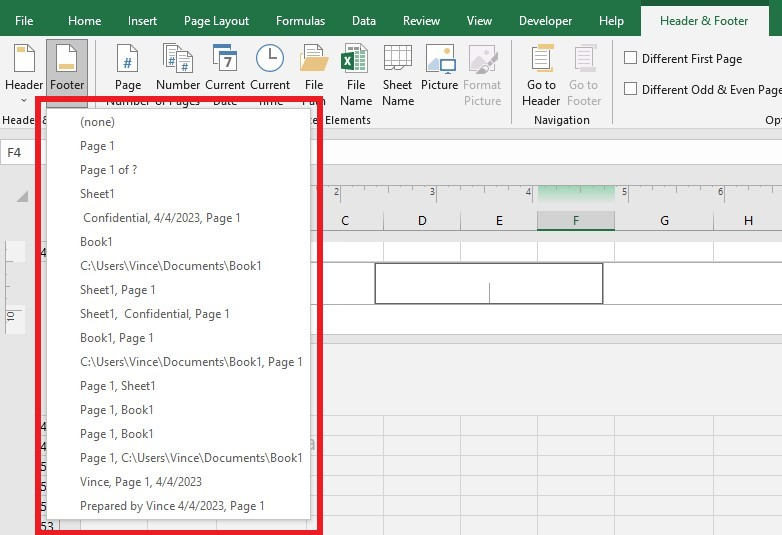
Alternatively, click the Footer button to see Footer presets.
-
Click the center part of the Footer.
-
Choose a Footer Element. For example, use Page Number. Finally, click any cell in the worksheet to show the Page number.

You don't have to count the page numbers in your worksheet and type them in. Microsoft Excel can do that for you using the header and footer tools.
Remember to include more than just page numbers or file names when adding headers and footers. Consider adding a date or time, a sheet or file path, and even a picture.
Read more: How to Use and Customize Page Layout Themes in Excel
Remove Headers and Footers in Excel
You can easily remove the headers or footers you have inserted. Moreover, you can remove them individually or all at once.
Let's simultaneously remove the headers and footers we've inserted in our worksheet.
-
Click the Page Layout tab, and from the Page Setup group, click the Page Setup dialog box.

A page setup dialog box will show up, showing different Page Formatting options.
-
Go to the Header or Footer tab, click the drop-down arrow, and choose None for the Header, same with the Footer, then click the OK button.
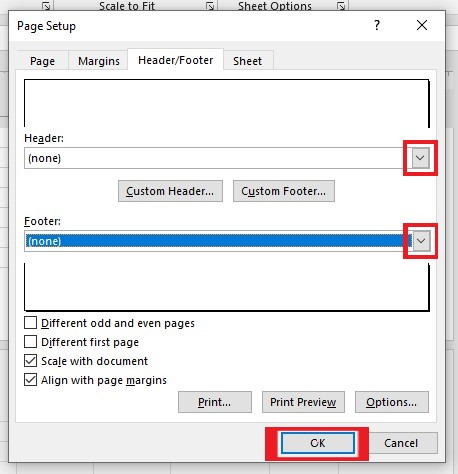
You've removed all the headers and footers simultaneously.
To remove headers and footers, you need to remove them individually using this method:
-
Go to the Header and Footer tab, click Header, then click None.
-
Do the same thing with the Footer.
 Headers and footers are essential if you're working on a document with multiple pages, such as an article, newsletter, or worksheet.
Read more: How to Add a Drop-Down Menu in Google Sheets: A Step-by-Step Tutorial
Final Thoughts on Adding a Header and Footer in Excel
Overall, adding a header and footer in Excel is easy. Knowing how to do so allows you to add personalized notes, visuals, titles, or anything else. You don't have to insert the same information across the document each time manually.
For more easy-to-follow Excel guides and the latest Excel Templates, visit Simple Sheets and the Related Templates section of this blog post.
Subscribe to Simple Sheets on YouTube for the most straightforward Excel video tutorials!
Frequently Asked Questions on Adding a Header and Footer in Excel:
How can I avoid changing the header and footer size during scaling for printing?
To make sure the font size of the header and footer text doesn't change when printing:
-
Go to Page Layout view.
-
Select either the Header or the Footer.
-
Find the Design tab and uncheck the box "Scale with Document."
How can I differentiate a header or footer from the first page?
-
Go to the Page Layout View.
-
Choose either the header or footer.
-
Navigate to the Design tab, then put a check in the Different First Page check box.
-
Set up a unique header or footer for the first page.
Can I change the text in my header or footer?
To change the text of your header or footer, select the text and choose the formatting option in the pop-up box. You can change the text's font, size, and color here.
Related Templates:
Equipment Maintenance Management Excel and Google Sheets Template
Want to Make Excel Work for You? Try out 5 Amazing Excel Templates & 5 Unique Lessons
We hate SPAM. We will never sell your information, for any reason.

