
The Comprehensive Guide: Data Validation In Excel
Jul 05, 2023
Have you ever needed help checking or validating the data in Excel spreadsheets?
If so, this blog post is for you. We'll cover everything you need to learn about data validation in Excel.
We'll explain the process and discuss how it can save you time and improve accuracy when working with large datasets.
Read on as we cover the following:
-
What Is Data Validation in Excel?
-
How to Add Data Validation in Excel
-
Different Kinds of Data Validation Rules
-
Dates and Time Validation Rules
-
Number Validation Rule
-
Text Validation Rule
-
Drop-Down List Rule
-
Remove Data Validation
-
Final Thoughts on Data Validation in Excel
-
Frequently Asked Questions on Data Validation in Excel
What Is Data Validation in Excel?
Excel data validation helps you ensure the information you enter is correct. It reviews whether your data meets certain rules.
We can use the data validation in:
-
Checking whether the data is a numerical value, data and time, or a text value with a specified length.
-
Presenting a drop-down menu to us with specific options.
Excel data validation can help us ensure that only the right information is allowed. Moreover, you can add a message that someone else can read before they can add anything.
If someone inputs the wrong information, there will be a warning message. Data validation helps make it easier to enter data and ensure it is correct.
Read more: How to fix a 'Reference Isn't Valid' error.
How To Add Data Validation in Excel
Follow the steps below to learn how to insert a data validation in Excel:
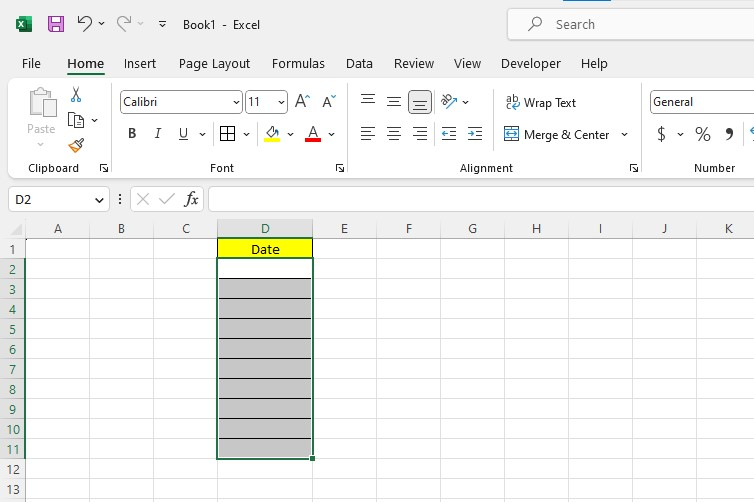
-
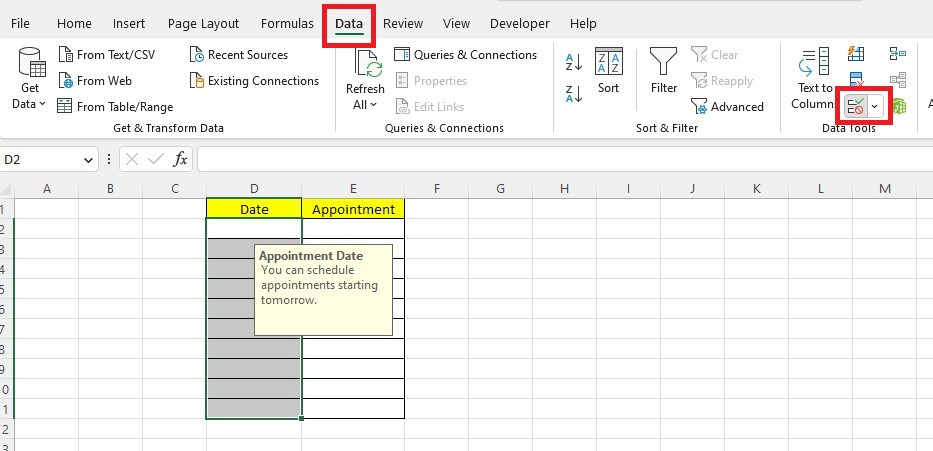
Select one or more cells to insert data validation in Excel.
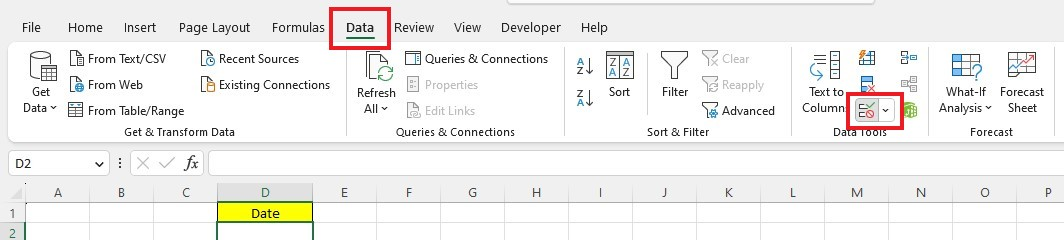
-
Click the Data tab and the Data Validation button under the Data Tools Group.
-
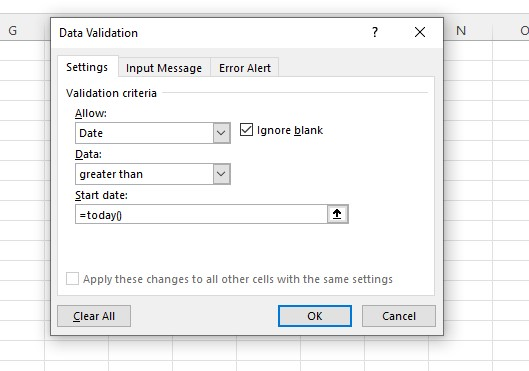
Once you're in the Data Validation window, go to the Settings tab to create data validation rules.
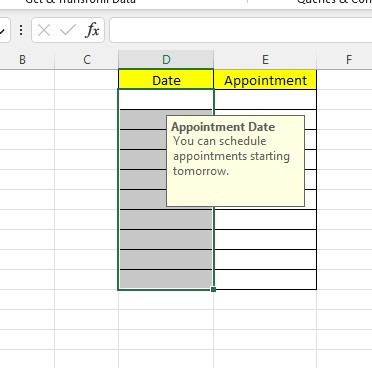
-
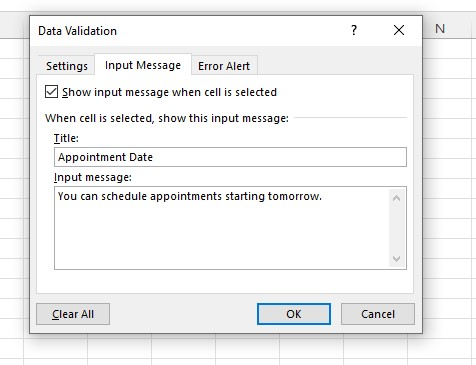
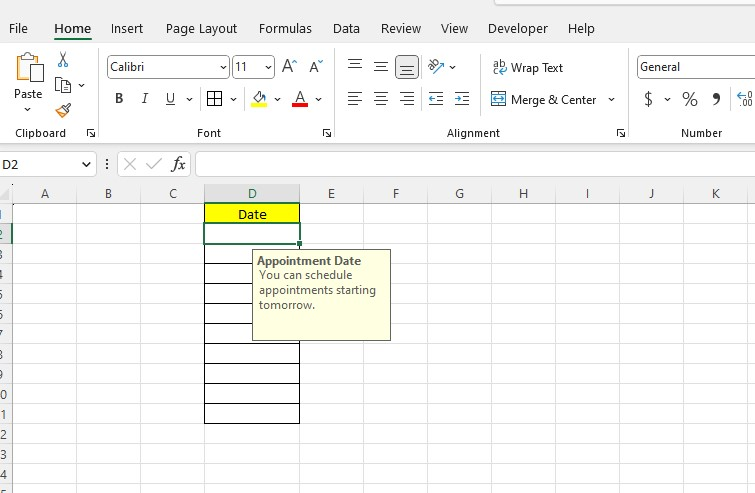
Go to the Input Message tab to set the Input message and title.
-
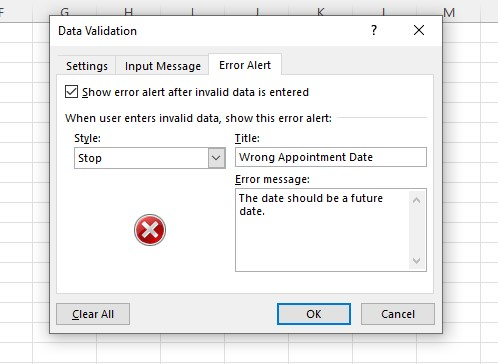
Go to the Error Alert tab. You can choose how the alert will look, what it should say, and what message it will show.
Close the Data Validation window. You have successfully inserted a data validation in Excel.
Different Kinds of Data Validation Rules
As we've mentioned, you'll need data validation to ensure that the information you type is correct. It could be a date, time, number, text, or a drop-down list. Here are ways to use data validation correctly:
Dates and Time Validation Rules
In this data validation rule, the user must enter date and time data to avoid entering invalid information in the date column.
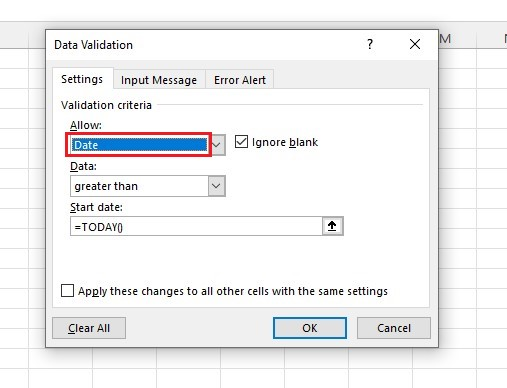
Set the date data validation rule.
-
In the Settings tab, choose Date from the Allow drop-down.
-
Set data validation criteria.
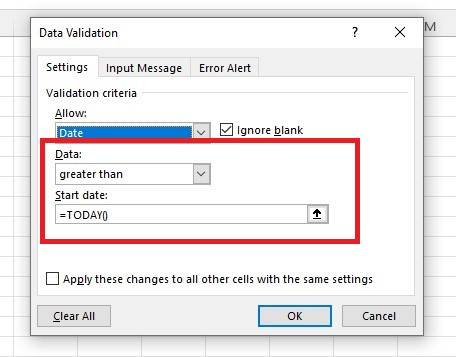
Users can now only enter future dates in the Excel table.
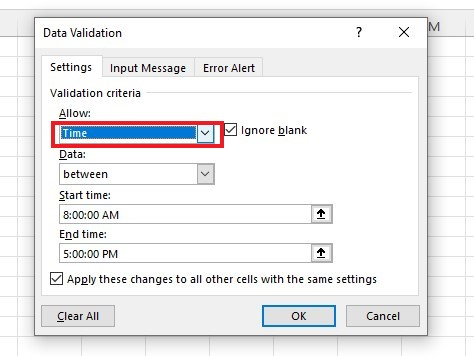
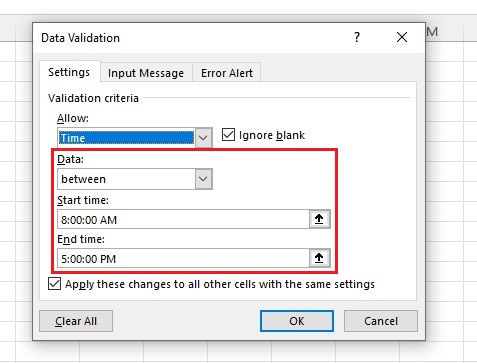
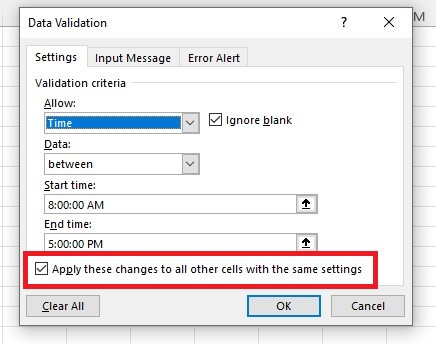
Set the time data validation rule.
-
Choose the time from the Allow drop-down.
-
Input a condition under the Data drop-down list in the Data Validation dialog box.
-
To change data validation settings for the selected cells, check the "Apply these changes to all other cells with the same settings" box.
Number Validation Rules
In this data validation rule, the user must enter numeric values to avoid entering invalid information in the table.
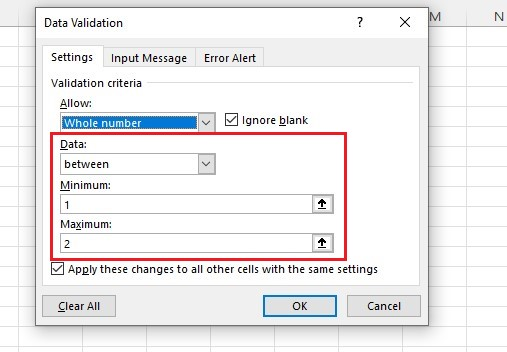
Set the whole number data validation rule.
-
In the Settings tab, choose "Whole number" for the data validation criteria.
-
Enter the conditions in the data validation dialog box. Set the minimum and maximum values.
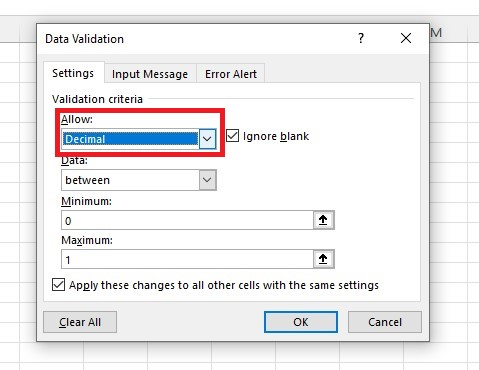
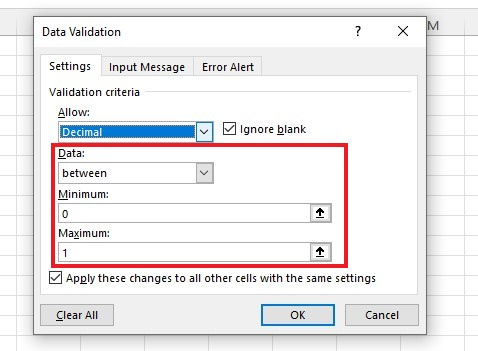
Set the decimal data validation rule.
-
Go to the Settings tab and choose "Decimal" for the data validation criteria.
-
Enter the conditions in the data validation dialog box. Set the minimum and maximum values.
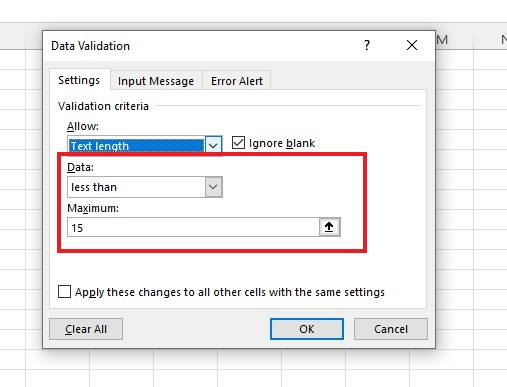
Text Validation Rule
In this data validation rule, the user must enter text values to avoid inputting invalid information in the table.
-
In the Settings tab, choose "Text Length" for the data validation criteria.
-
Enter the conditions in the data validation dialog box. Set the maximum value.
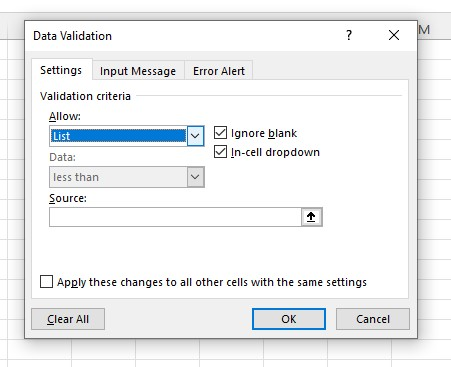
Drop-Down List Rule
In this data validation rule, the user must choose based on values in a list to avoid entering invalid information in the table.
-
Go to the Settings tab and choose "List" for the data validation criteria.
-
Input the items for the drop-down list in the source box or select the range for the drop-down list in the source box.
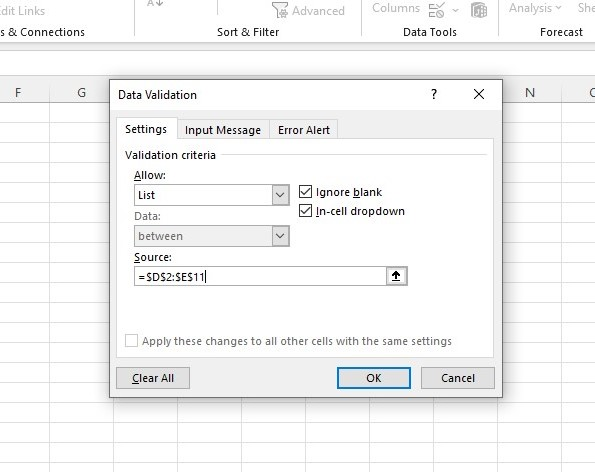
Note: It can be a lot of work to change the drop-down list, especially if it constantly changes.
Type the cell reference from your source box into your table to make it easier. The drop-down list will help keep your table up-to-date with the latest lists.
Remove Data Validation
To remove the data validation in Excel, follow the steps below:
-
Select the cells that have data validation.
-
Click the data tab and the Data validation button.
-
Click Clear All.
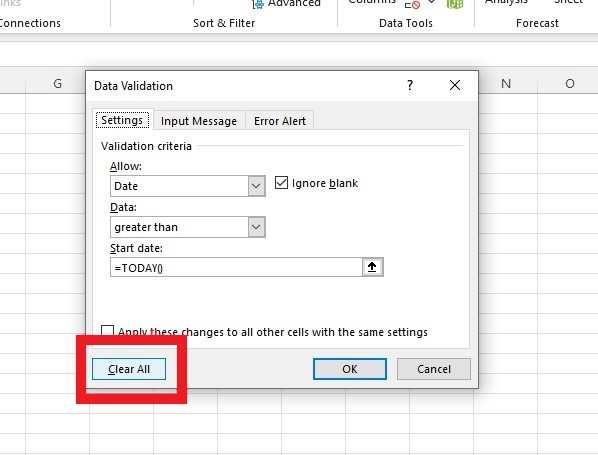
Excel will clear all the selected cells with data validation.
Final Thoughts on Data Validation in Excel
Remember the importance of validating your data in Excel. After all, it ensures the data is correct and accurate.
Visit Simple Sheets for more easy-to-follow Excel guides, and remember to read the related articles in this blog post.
For the most straightforward Excel video tutorials, subscribe to Simple Sheets on YouTube!
Frequently Asked Questions on Data Validation In Excel
Can I apply data validation across multiple worksheets in a workbook?
You can only use Excel data validation on one sheet at a time. You must set up the rules on each sheet individually to use it in more than one sheet.
Can data validation settings be protected from being changed by other users?
You can keep data validation settings safe by protecting the worksheet or workbook. You can choose whether to let others change the settings when it is protected.
Can I allow users to input custom values not included in the drop-down list?
Yes, you can allow users to input custom values by following these steps:
-
Open the data validation dialog box.
-
Go to the Error Alert tab.
-
Enable Ignore blank and In-cell drop-down options.
Related Articles
How To Divide In Excel: A Comprehensive Guide
Want to Make Excel Work for You? Try out 5 Amazing Excel Templates & 5 Unique Lessons
We hate SPAM. We will never sell your information, for any reason.

